How to Build an Amazon aStore
Build an Amazon aStore – Step by Step Guide

The amazon affiliate program can be a very Powerful monetization tool that adds a new source of revenue for your website or blog. For example if you your website niche is fitness equipment, you can make a branded store and sell amazon products, earning commission every time a user is redirected to amazon from your aStore or product listing, Amazon tracks the clicks, conversions and commission which gives you actionable insights about your product placement.
Step 1 – Add an aStore
First sign up for the Amazon Associates Affiliate Program, click on add an aStore and choose a tracking ID. If you do not currently have any tracking ID’s with Amazon you can simply create one from this menu.

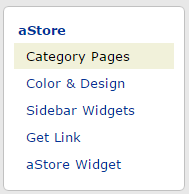
Once you have completed the first step and created the bones of your aStore, you may noticed there are 5 main links you can click on: Category pages, Color and design, Sidebar widgets, Get link and aStore widget.
Step 2 – aStore Category Pages
Set up the categories you want in your aStore. You have full control over exactly which products to add. Create a category name and decide whether you want to add individual products, an assortment from an Amazon category, or products from a Listamania! List. Use the up/down arrows to adjust the order of each category and the curved arrows to create sub categories.

Step 3 – Color and Design
Take full control over your aStore design. Choose pre-made templates, community submissions or edit the CSS of your store to get the perfect look and feel.

Step 4 – Sidebar Widgets
Add increased engagement, recommended products and greater variety of your store with sidebar widgets.

Step 5 – Get Link
Generate a link, iFrame embed code or frameset to put your store on any webpage.
